How to Compare Dollar Tree and Family Dollar: Practical Factors Shoppers Should Check
A practical, no-fluff guide to the everyday factors shoppers can compare between Dollar Tree and Family Dollar — what to look for in-store and online to decide which fits your needs.
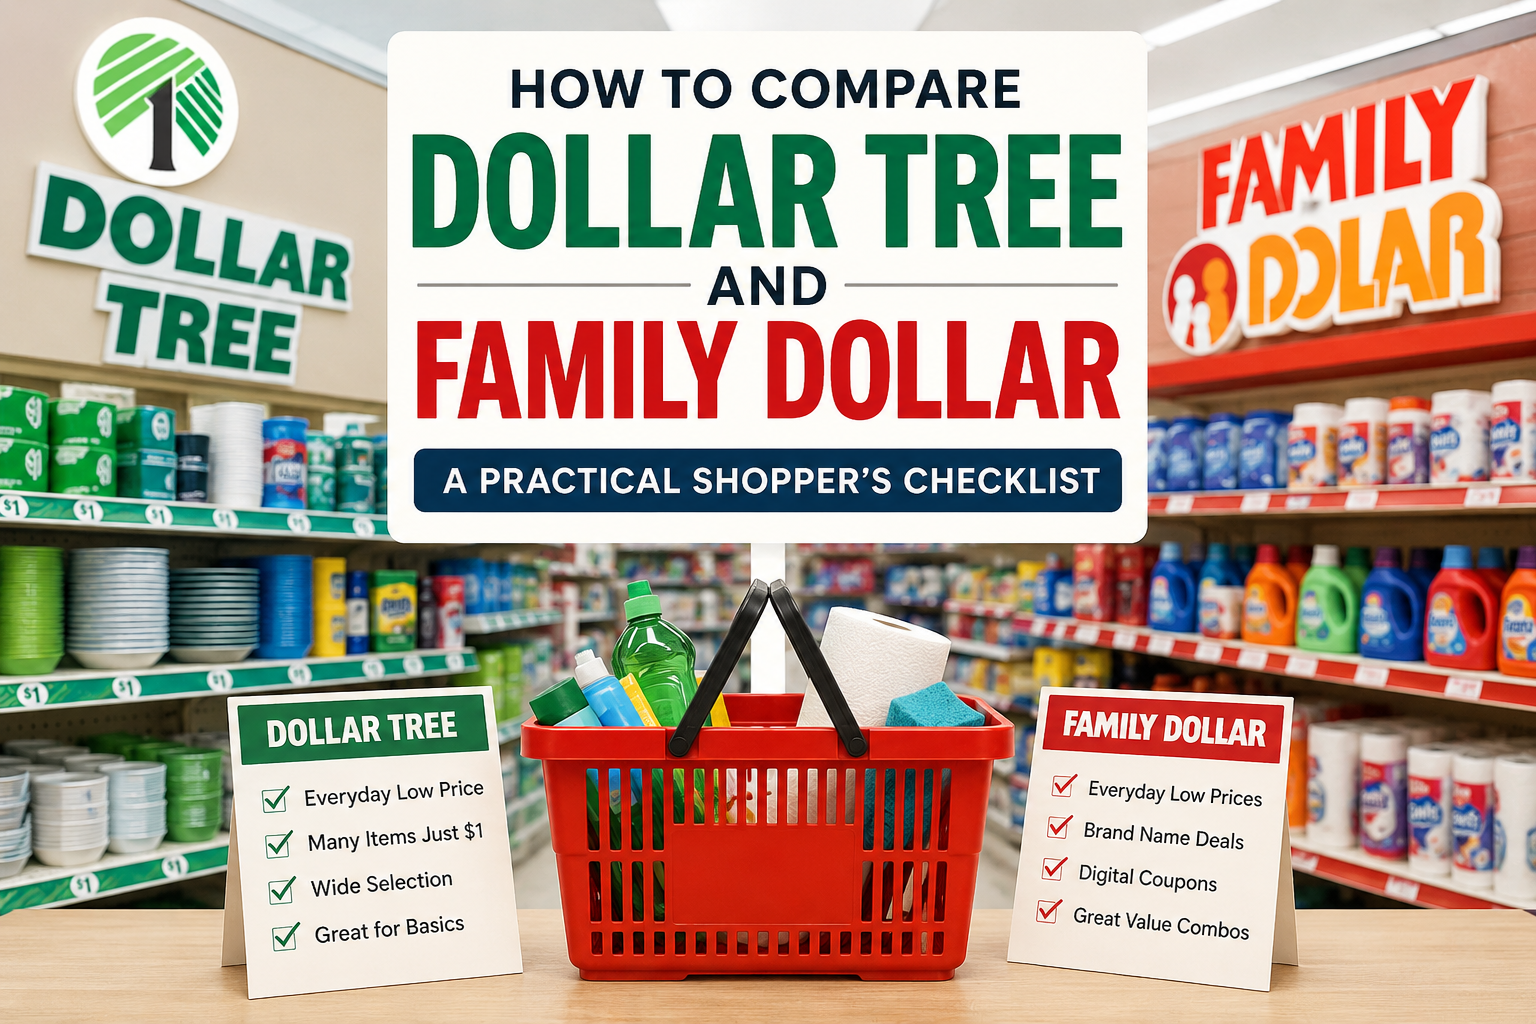
Why compare beyond brand names?
Shoppers often use store names as a shortcut for value, but actual shopping experience and value depend on several practical, checkable details. This guide walks through reliable, observable factors you can compare between a Dollar Tree location and a Family Dollar location so you can make informed choices without relying on unverified claims.
Key factors to compare in store
Use the checklist below during a short visit or before you buy online. Each point is something you can verify yourself without relying on published corporate claims.
1. Pricing signals and how prices are displayed
- Price labels: Look at shelf and aisle tags for clear price information. Note whether prices are per unit (each) or per package, and whether tags list multiple price tiers or a single price.
- Unit pricing: When available, compare unit price (price per ounce, per count, per unit) to evaluate true value across different package sizes.
2. Product selection and brand mix
- Brands vs. private labels: Check whether familiar national brands are offered alongside store brands or private-label products. For many shoppers, brand familiarity affects perceived value.
- Category depth: Note whether aisles carry multiple options in a category you buy often (cleaning supplies, snacks, health items, seasonal goods) or only a few skus.
3. Packaging sizes and quantity
- Compare net weight, volume, and count on packaging. A similar-looking item can have different quantities that affect value.
- Smaller package sizes may be cheaper per purchase but more expensive per unit; check labels.
4. Food, expiration, and labeling
- For food and consumables, check ingredient lists, allergen statements, and expiration or best-by dates before buying.
- If dates are missing or unclear, consider that a factor in whether to purchase that item.
5. Return, exchange, and receipt practices
- Before a non-trivial purchase, ask or look for posted information about returns and exchanges. If a store provides a receipt for every transaction, that makes returns easier.
- Keep receipts or note transaction methods to support any potential exchanges.
6. Payment options and in-store tech
- Observe which payment methods are accepted at checkout (card, cash, mobile pay) and whether self-checkout or staffed lanes are available.
- If you rely on a particular payment method, confirm acceptance before shopping.
7. Store layout, accessibility, and convenience
- Note aisle width, signage clarity, and whether frequently bought items are easy to find.
- Check accessibility features like level entry and unobstructed aisles if those are important to you.
8. Inventory consistency and restocking patterns
- Visit at different times or ask staff about restocking frequency to gauge how often shelves are fully stocked.
- Some shoppers prefer stores with frequent restocks for predictable availability of core items.
9. Promotions, coupons, and loyalty options
- Look for in-store signage about promotions and ask whether there is a loyalty program, coupons, or digital offers.
- Always read terms carefully; promotional limits and exclusions can affect value.
10. Cleanliness, lighting, and safety
- Clean, well-lit aisles and tidy shelving make shopping faster and reduce the chance of picking damaged items.
- If these factors matter to you, include them in your comparison.
A simple hands-on comparison method
Rather than comparing everything at once, pick a small set of commonly purchased items and compare those across the two stores. This approach keeps the comparison practical and directly relevant to your needs.
- Choose 5 staple items you buy regularly (for example: an item from cleaning, one snack, one pantry item, one personal care item, and one seasonal item).
- Visit each store or check the product pages if available. For each chosen item, write down brand name, package size, net weight/volume, and shelf price as shown in store.
- Calculate unit price when possible (divide price by quantity) to compare true cost per ounce, per count, or per unit.
- Check labels and dates on consumables: ingredient lists, allergen warnings, and expiration/best-by dates.
- Factor intangible differences — ease of navigation, time to checkout, staff helpfulness — into your decision based on what matters most to you.
Quick shopping checklist you can print or save
- Item name and brand
- Package size / count / net weight
- Displayed price and unit price (if calculable)
- Expiration/best-by date (for food)
- Payment options observed
- Return/exchange info available
- Notes on store cleanliness and layout
Where to look for additional details
If you want to check a store’s official information before visiting, use the store’s website or store locator. For quick reference, you can start with these brand pages on DollarStoreDirectory:
Final tips
Comparing stores becomes easier when you focus on the specific items and features that matter most to your household. Use unit pricing, packaging details, and in-store observations rather than marketing headlines. Keep receipts and be willing to try a small purchase first if you’re evaluating product quality. Over time you’ll build a personal sense of which store tends to offer better value for the items you buy most often.
This article is informational and not affiliated with any retailer. Always verify store policies and in-store prices directly with the location you plan to visit.