A Practical Framework for Comparing Dollar General, Dollar Tree, and Family Dollar
A neutral, step-by-step framework to help shoppers compare offerings from Dollar General, Dollar Tree, and Family Dollar using measurable attributes — without assuming prices or policies.
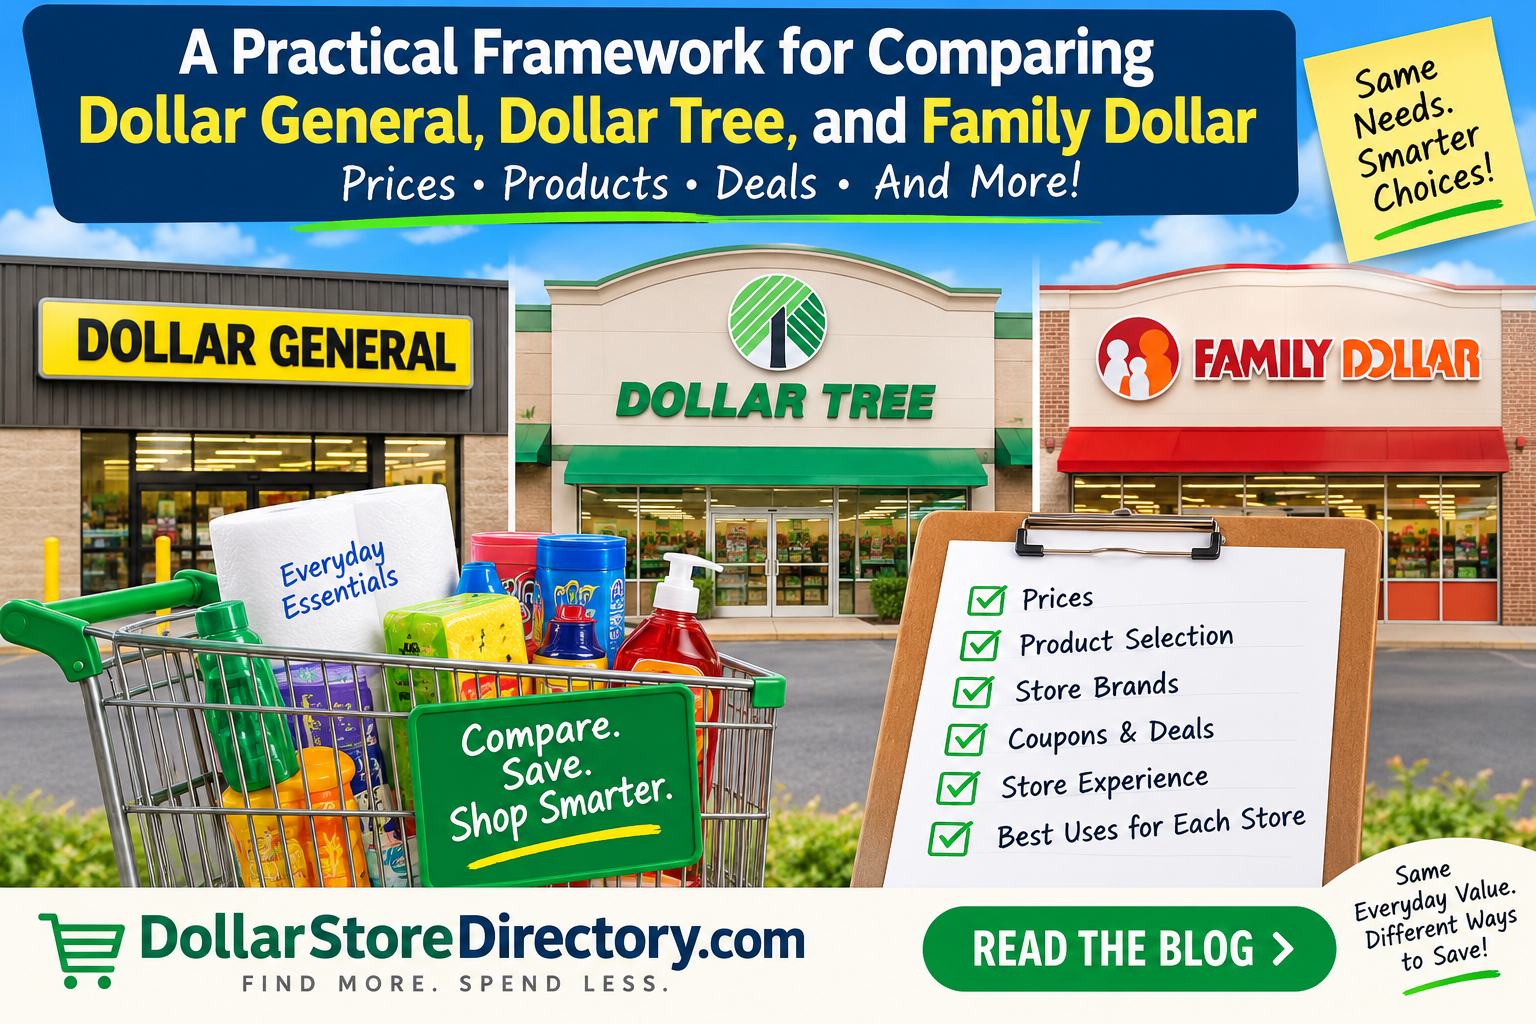
This independent guide gives a neutral, repeatable way to compare Dollar General, Dollar Tree, and Family Dollar so you can decide which store fits a particular shopping need. This site is not affiliated with any retailer. The goal here is to outline measurable checks you can do in-store or online so your choice is based on facts you verify.
Start with your priorities
Before you compare stores, pick the buying priorities that matter to you for the shopping trip. Common examples:
- Unit cost and value — how much you get for each dollar spent.
- Package size and format — single-use versus family-size, resealable packs, etc.
- Brand or ingredient requirements — a name brand, allergen-free, or specific ingredient list.
- Convenience — store location, layout, parking, or speed of checkout.
- Quality and safety — product standards, expiration dates, and labeling.
- Time-sensitive needs — same-day purchase vs. planning ahead.
Write down your top 2–3 priorities so you can evaluate each store against the same standard.
A neutral comparison framework (step-by-step)
1. Build a short, targeted test list
Choose 4–6 representative items you commonly buy or that match your priorities. A balanced list might include one grocery item, one cleaning product, one personal care item, and one household supply. Use the same list at each store so comparisons are apples-to-apples.
2. Measure the same attributes at each store
For each item on your test list, record these facts:
- Product name and UPC/GTIN if visible.
- Package net quantity (weight, volume, count).
- Ingredient list or active ingredients for OTC items.
- Expiration or best-by dates for perishables.
- Any claims on the package (e.g., fragrance-free, non-GMO) and manufacturer/distributor information.
Use the same units for comparisons (grams, ounces, milliliters, or count). To compare price efficiency, calculate unit price using a consistent formula. A simple formula is:
unit_price = price ÷ quantity
If you want extra help, see the guide on how to calculate unit price and compare value: How to Calculate Unit Price and Compare Value at Dollar Stores and Other Retailers.
3. Read labels and warnings, not just packaging claims
Look beyond marketing language. For food and personal-care items, compare ingredient lists and nutrition panels. For cleaners and household chemicals, note active ingredients, dilution instructions, and any safety warnings that affect usability in your household.
4. Record non-product factors
- How easy is it to find the item (signage, aisle organization)?
- Stock condition (well-stocked, damaged packages, lot rotations)?
- Payment methods accepted (if visible), and whether the store posts return or exchange instructions you can verify at checkout or online.
5. Use photos and short notes for later comparison
Take a quick photo of the front and back of packaging and any price tags or shelf labels. Photos let you compare details side-by-side at home without rushing and make it easier to check UPCs and ingredient panels.
6. Consider extra value factors
Think about convenience (one-stop shopping for both household items and food), packaging that reduces waste, multi-pack savings, or manufacturer contact information if you need product support. These factors can change which store is the better choice for a specific purchase.
Quick in-store routine (10–15 minutes)
- Bring your short test list and a note app or shopping notebook.
- At each store, locate items on your list and record the attributes listed above.
- Take photos of package fronts/backs and shelf labels.
- Compare unit quantities and ingredient lists on the spot; flag any item that fails your minimum requirements (allergen, ingredient, size).
- If you plan to buy, double-check expiration dates and lot numbers for perishables.
- Decide which items to purchase now and which to buy only after comparing at another location or online.
Mapping outcomes to shopping decisions
After you collect the data, use a simple decision approach:
- If an item meets your ingredient/brand requirements and offers the quantity you want, it’s a candidate regardless of sticker price.
- If two stores offer the same product and packaging, prefer the one with the lower unit price or better stock/condition.
- If convenience or location matters more than unit cost for a small purchase, factor in travel and time savings.
- When you need a specific size, brand, or formulation, rely on the store that provided the verified match during your test run.
Where to go next
If you want additional guidance on comparing these chains for a specific purchase, these independent resources can help you plan your test comparisons and compute unit prices:
- Dollar General
- Dollar Tree
- Family Dollar
- How to Calculate Unit Price and Compare Value at Dollar Stores and Other Retailers
Use the framework above each time you compare; repeating the same steps will make your decisions faster and more reliable. Our directory currently contains 592 active, approved, indexable records if you need help locating nearby listings for these brands.
This article provides a neutral method you can follow. It does not assert differences in pricing, policies, or inventories for any retailer; always verify details at the store or via official retailer channels before making decisions that depend on policies or stock.