How to Compare Dollar General and Dollar Tree: A Practical Shopper’s Checklist
Practical, non-assumptive steps shoppers can use to compare Dollar General and Dollar Tree locations in their area — what to inspect in-store, how to verify policies, and simple math for fair value comparisons.
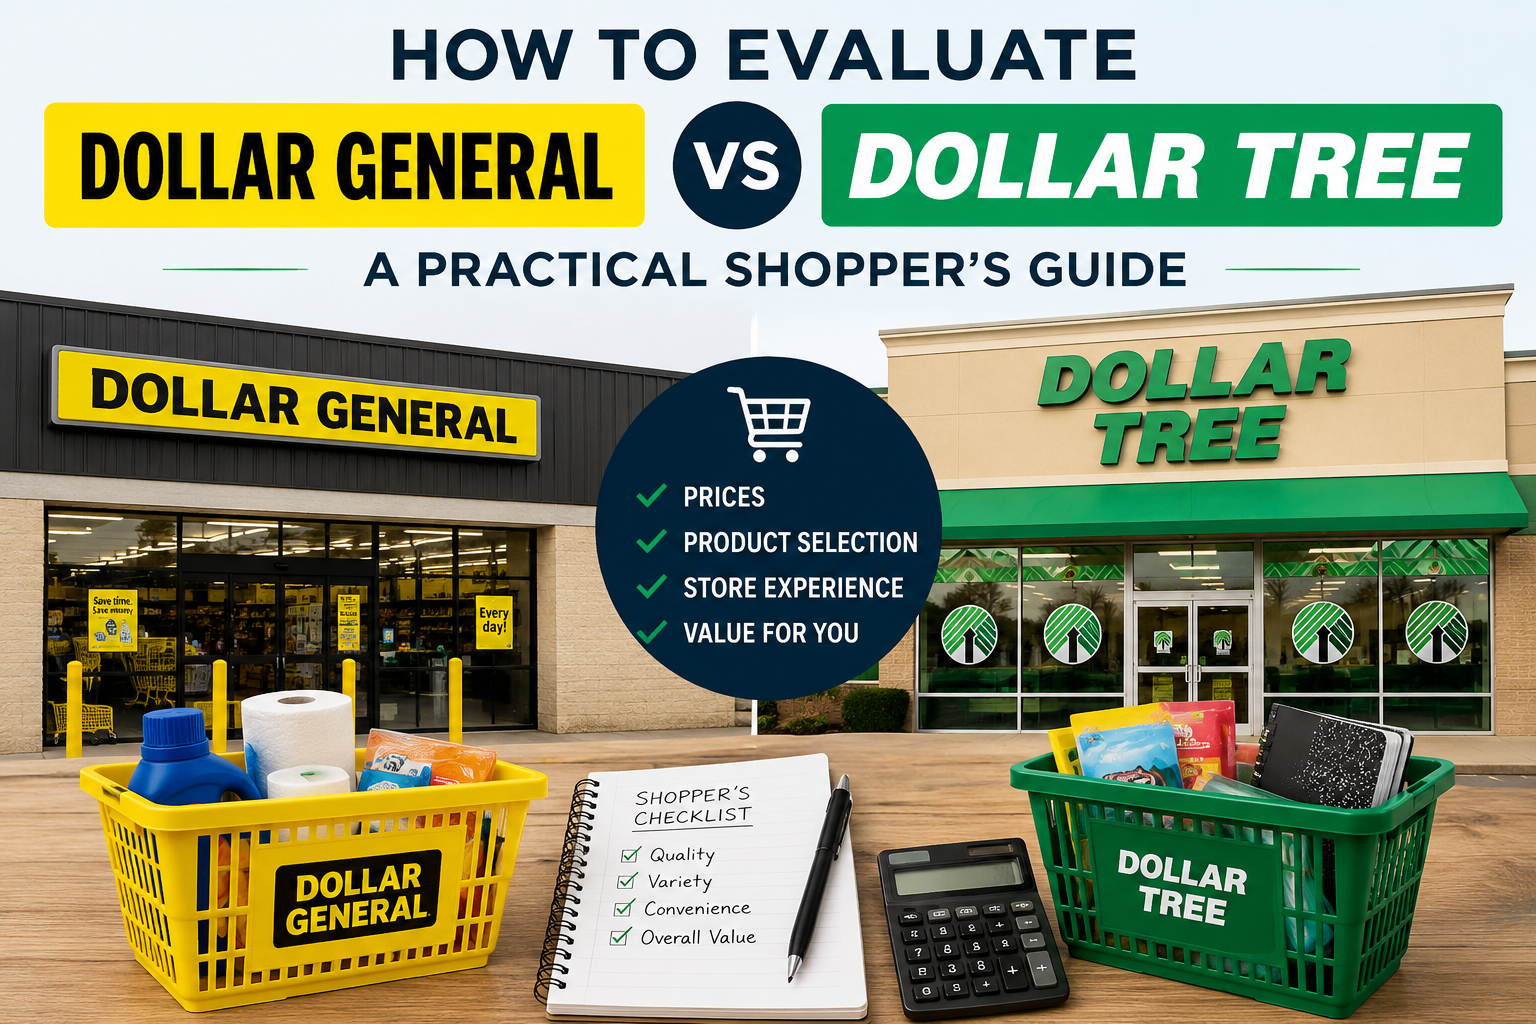
When you want to compare two discount chains such as Dollar General and Dollar Tree, it’s best to focus on observable facts and verifiable information rather than assumptions about prices, services, or inventory. This article gives a practical, step-by-step checklist and tools you can use at the store, on the phone, or online to evaluate which location or brand better meets your needs.
Start with your goals
Before you visit, decide what matters most to you. Examples include:
- Lowest cost per usable unit (for replenishable items like detergent or canned goods)
- Specific brands or product categories (cleaning, personal care, party supplies, seasonal goods)
- Convenience (location, parking, hours, payment methods)
- Product quality, packaging integrity, and freshness where applicable
- Return, refund, or exchange flexibility
Having clear priorities will help you treat each visit as a data point rather than an impression.
Before you go: gather verifiable info
- Check official sources: Visit each brand’s store page or corporate site to find store contact options, posted policies, or FAQs. (For quick access, use the Dollar General and Dollar Tree pages in our directory.)
- Call or email the specific store if you need to confirm something simple (accepted payment types, major item availability) — ask for a manager if necessary and note the date and time of your call.
- Plan your measurement tools: bring a smartphone (for photos and barcode scans), a small notepad or notes app, and a tape measure if you’ll be checking dimensions for household items.
You can find each brand’s directory entry here: Dollar General and Dollar Tree.
In-store checklist: what to observe and record
When you’re inside, use this checklist to record facts you can later compare across visits.
- Entry and layout: note how easy the store is to navigate, readability of aisle signs, and whether essential categories are easy to find.
- Product variety: record which categories you need are present and whether national brands, store brands, or a mix are available. Don’t assume consistency across locations — record what you see.
- Packaging and item size: many discount stores carry different pack sizes. Check the net weight/volume and number of pieces on the label — don’t judge by package size alone.
- Unit pricing information: see whether the shelf tag shows unit price (price per ounce, per count, per unit). If it doesn’t, use the price and package quantity to calculate unit price yourself.
- Condition and safety: inspect seals, expiration dates, and package integrity. If a product is dented, open, or expired, note it and avoid buying.
- Payment and checkout: look for payment method signage (cards, mobile wallets, EBT, etc.), observe average checkout speed if possible, and whether self-checkout is available.
- Service and signage: check for posted return or exchange policy at the register or on receipts and whether staff are attentive and helpful when asked procedural questions.
How to calculate unit price (simple and reliable)
If a price tag doesn’t show unit price, compute it yourself. The formula is straightforward:
unit price = total price / quantity or total price / net weight
Example steps: find the total price on the register tag, then divide by the number of items in the package or the net ounces/grams. Use your phone’s calculator and record the result so comparisons are apples-to-apples.
Verifying policies and protections without assumptions
Retail policies vary by location and over time. Instead of assuming a standard policy, verify each item below directly:
- Returns and exchanges: ask the cashier for a written copy of the store’s return policy or look for signage at the register. If the policy seems unclear, ask whether a manager can confirm.
- Price adjustments or pricing errors: if you suspect a tag mismatch, ask the cashier to price-check the item. Record the employee’s response for future reference.
- Coupons, promotions, and loyalty programs: some locations or times may accept manufacturer coupons or have store-specific offers. Ask or check the store’s receipt and corporate website for current programs.
- Payment acceptance: verify accepted payment types at the register or by asking staff (don’t assume every location accepts the same methods).
Using technology to assist the comparison
- Barcode and price-check apps: use a barcode scanner app to compare package sizes and to look up manufacturer information. If you prefer, take a photo of the UPC and search later from home.
- Notes and photos: photograph shelf tags, UPCs, packaging, and any posted signage. Keep notes of date/time and the store location so you can compare later.
- Manufacturer labels: for items with safety or certification labels (organic, testing marks, etc.), record the exact wording and verify on the manufacturer’s website if that matters to you.
When to buy and how to test first
For items you use regularly, buy a small quantity first and test it in normal use. Keep the receipt and package until you’re satisfied. For products that could affect health or safety (baby items, medications, certain personal care products), be even more cautious — verify lot numbers and ask staff how fresh stock is handled.
Comparing results: a simple scoring method
Create a short comparison table or score each store on the factors that matter to you (0–3 points each, for example):
- Price per unit
- Brand availability
- Product condition
- Payment options and convenience
- Customer service and policy clarity
Total the points and weigh categories by importance to make a reasoned choice rather than relying on a single visit impression.
Practical closing tips
- Visit at different times of day if possible; restocking or staffing can vary and affect availability and service.
- Keep receipts and take photos for any customer-service follow-up; accurate records make resolving issues easier.
- If you need more detail about a brand’s corporate policies or store locator, check the brand directory pages linked earlier: Dollar General and Dollar Tree.
- Note: our public directory currently contains 524 active, approved, indexable records; use it to find and compare nearby locations.
Comparing discount retailers doesn’t require insider knowledge — it requires a consistent method. Use the checklist above, record clear facts, and make purchases that match your needs and risk tolerance. Over time you’ll know which locations and brands reliably deliver what you want.